Shrink Sleeve Label Design
As companies switch product labels to shrink sleeves as part of their rebranding strategy, it’s important to understand the primary challenge of the shrink sleeve label design process
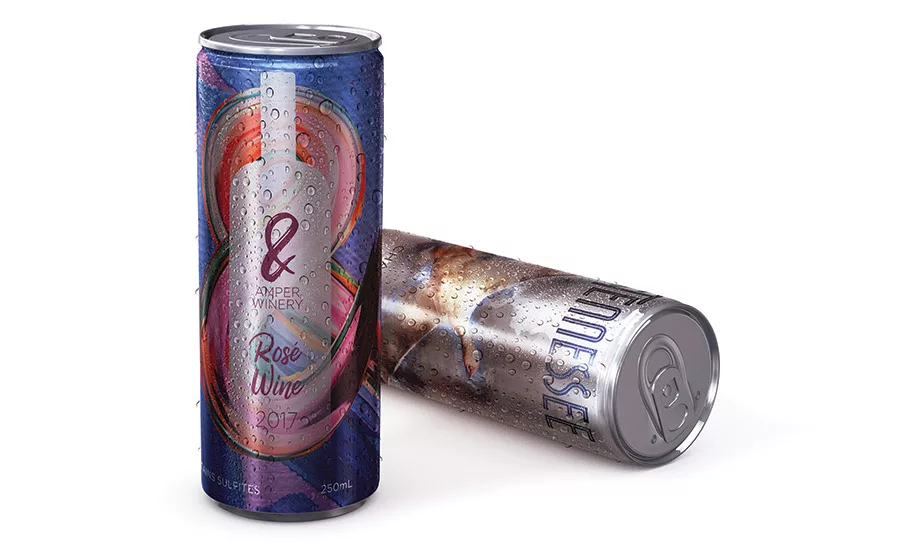

Shrink sleeves—when designed, printed and shrunk correctly—have countless benefits essential to any rebrand: product differentiation, 360-degree branding, improved appearance retention and maximum shelf impact. Sleeves also add value to a product’s total packaging system by providing added strength and allowing for the use of lightweight product containers as well as enabling easy incorporation of tamper-evident elements.
Shrink sleeves are a great branding opportunity, which explains the staggering growth of the segment in recent years. But companies switching their product labels to shrink sleeves as part of a rebranding strategy need to plan for the primary challenge of the shrink sleeve label design process: accounting for shrink distortion in the artwork origination process.
Preventing shrink distortion: then and now
As you know, shrink sleeves are printed flat onto a film, seamed and dropped over a bottle or container before going through a heat tunnel to shrink the sleeve around the contours of a product’s container. This process presents a serious design obstacle: While the final product is 3D, the artwork is printed in 2D.
A crisp, clear 2D graphic will distort when shrunk around the curves and angles of a product’s container. To prevent this, label converters will pre-distort graphics to account for the shape of the container, the shrink potential of the material chosen (PVC, PETG, PLA or OPS) and the design of the heat shrink tunnel.
Proper distortion of the 2D image will ensure that graphics display as intended when the sleeve is shrunk around the container. But getting the pre-distortion right is arguably the hardest part of transitioning to shrink sleeves, and the process for doing so has changed quite a bit in recent years.
Then: Manually Preventing Distortion through Trial and Error
In the past, pre-distortion was a manual process requiring many rounds of trial and, inevitably, error. Naturally, estimating shrink distortion by hand shrink led to long pre-press, proof and approval cycles.
Now: Using 3D Software to Streamline the Pre-Press Process
Now, this process is made much simpler—and quicker— with the advent of 3D modeling technology for packaging. After receiving a sample of the packaging, a converter can render a 3D version of it. Using the artwork and the 3D rendering of the container, the converter can predict the level of expected shrink to distort the image accordingly. This technology even allows brand owners to simulate how the finished product packaging will appear on the shelf next to the competition. This gives a clear idea of what the final product will look like before the shrink sleeve design ever hits the press.
Pre-press virtualization programs have certainly streamlined the shrink sleeve design process. But it’s still important to have the converter run a sample sleeve to ensure the digitized artwork looks good on the physical container.
Preventing shrink distortion: best practices for brand owners
Although the label converter will handle the pre-distortion, the pre-press process can be streamlined—and the lead time reduced—by ensuring the artwork is optimized for shrink sleeves when it’s handed off.
Select the Material Best-Suited for the Container
While there are many shrink sleeve material options available, the two most common are PVC and PETG. The best choice depends on budget, application and how much the material will need to shrink to wrap around a container.
PETG tends to be more expensive, but it has a higher shrink potential—good for uniquely shaped packaging—and is considered more environmentally friendly than PVC. PVC is cost-effective and performs well in use, but only offers 60 percent shrink potential, limiting which containers it can be used for.
Pay Attention to Seam Placement
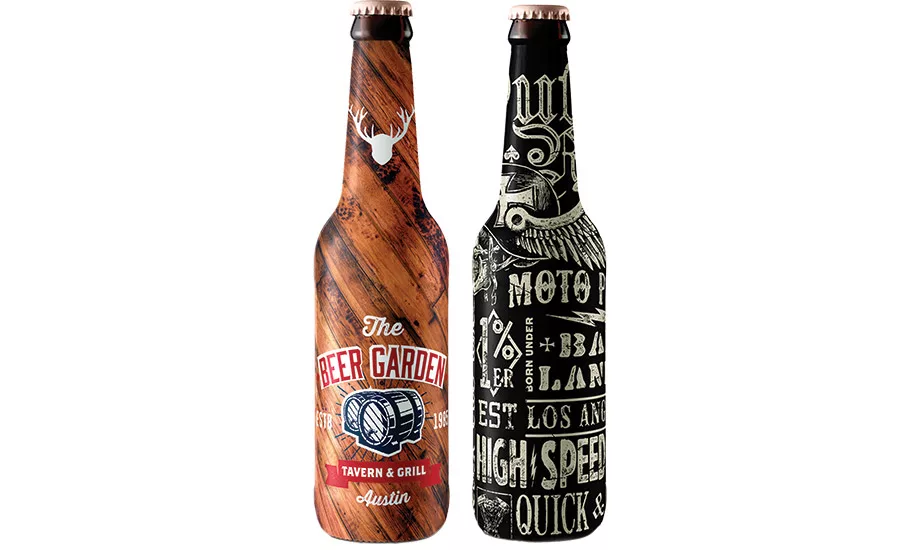
It’s harder to prevent shrink distortion close to the seam. A seam can be placed anywhere on the sleeve—just make sure to plan for seam placement when designing the artwork. Choose an area without small text or realistic imagery, and avoid having continuous graphics go through the seam.
Orient Barcodes Correctly
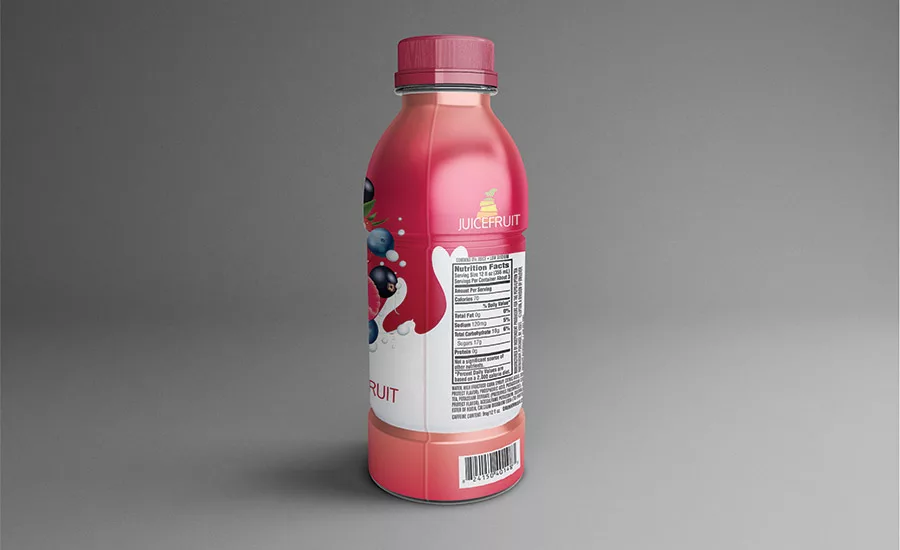
Barcodes must be printed with a high level of accuracy to ensure they can be scanned. During the design phase, orient the product’s barcode vertically rather than horizontally to minimize the possibility of distortion.
Avoid Small Text, Realistic Imagery and Intricate Design in High-Shrink Areas
Even with new technology, replicating realistic imagery or geometric shapes in high-shrink areas is difficult (think grips on a trigger bottle or the neck of a soda bottle). Instead, opt for abstract shapes in high-distortion areas because these shapes are more forgiving of a small degree of distortion.
Find the right converter
What used to be an imperfect science of trial and error has turned digital. And while new 3D modeling technology has made it easier to get into the game, the proven expertise of a label converter is still key to the success of a transition to shrink—it’s the difference between having a label that looks good on the screen and a label that looks good on the shelf.
To ensure the right converter is chosen, ask the right questions during the consultation: Look at the converter’s portfolio of custom sleeves, find out if the company has done sleeves for the desired product segment and make the company identify potential challenges in a product’s sleeve design. Only partner with a shrink sleeve labeler whose answers exhibit expertise in designing sleeves for a specific product segment as well as experience manufacturing similarly designed sleeves.
Looking for a reprint of this article?
From high-res PDFs to custom plaques, order your copy today!


